By now you’ve probably heard the decision of Umbraco HQ to no longer investing resources in Umbraco MVC and instead the focus (from both HQ and the community) is on making Umbraco 4 a better product.
One thing that a lot of developers were waiting for with Umbraco was the ability to use MVC with Umbraco. Over the course of the retreat we looked at where this motivation came from any one of the things that we seemed to agree is that most Umbraco users aren’t concerned about whether the underlying technology is MVC or not, the just want to be able to write clean mark up which MVC, or more importantly Razor allows you to do.
But there still is a valid reason for wanting to use MVC when building applications in Umbraco, and by that I mean if you’re building say a booking platform you may prefer to write that part of your application in MVC. This application side of your website may not really need content management so the onus of Umbraco is very little. So how do you go about doing this, using MVC for your web application inside an Umbraco CMS?
It’s all ASP.NET
If you’ve been following the movements of ASP.NET of recent months you’ll have seen a lot of emphasis by the ASP.NET team on the idea of One ASP.NET, that WebForms, MVC, WebAPI and WebPages are all part of the same stack and all can play nicely together. Scott Hanselman has blogged in the past on creating hybrid ASP.NET applications which allow you to host MVC along side WebForms and that’s what I want to look at.
Simply put…

Before we begin
This is not a solution for everybody, what I’m going to look at through the rest of this blog is very much a proof of concept, I haven’t deployed a site doing this, I’m writing this blog post in the back of a car while driving to Copenhagen. It’s designed as an idea to hopefully inspire more people to get involved. It will also require you to open up Visual Studio and do some coding, but I expect that if you’re planning on building an MVC application that’s a known fact.
I’m also going to make the assumption that you are familiar with MVC, if you’re not please start by checking out the guides at www.asp.net/mvc

Getting Started
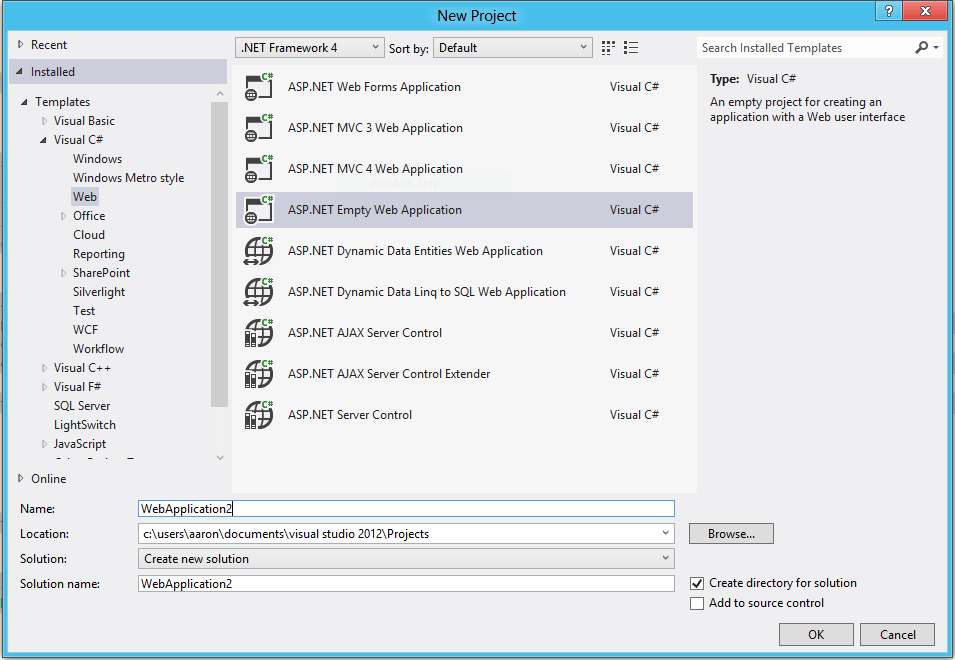
First things first I’m going to create an empty ASP.NET site. I’m using Visual Studio 2012 which comes with a completely empty project template:
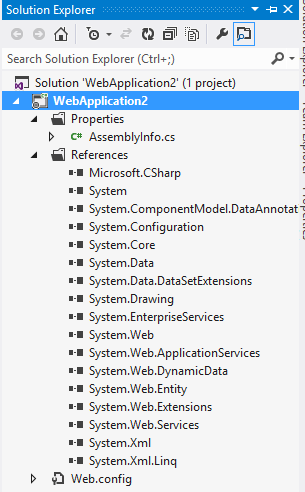
If you aren’t running Visual Studio 2012 don’t fear, you can always use one of the other web project types and delete the files, here’s what my solution explorer looks like now:
Next up grab yourself a copy of Umbraco 4, I’ve used Umbraco 4.7.2 for this but as newer versions come out some of this may change. Once you’ve downloaded Umbraco 4.7.2 (you can use Web Platform Installer as well) copy all the files into the folder which your project resides in. Make sure you replace the web.config with the Umbraco provided one. Also you don’t need to add any of the Umbraco files or folders to Visual Studio if you don’t want.
You’re now ready to go with creating your Umbraco instance, feel free to setup your database, document types, etc.
Getting MVC installed
So now that we’ve got our Umbraco instance running we want to get our MVC application integrated. The first thing I want to do is to add MVC to the project, for this I’m going to use NuGet as it’ll greatly reduce the effort in adding references, but you can do it manually if you require.
Go ahead an install the Microsoft.AspNet.Mvc NuGet package:
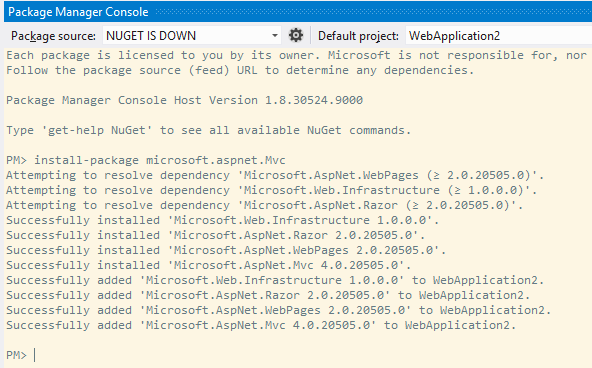
Note: I used the Package Management Console, but you could just as easily use the GUI tool. Assuming you have NuGet installed both options are available from Tools > Library Package Manager.
Now that that is done go ahead and create these folders:
- App_Start
- Controllers
- Views
Setting up our routes
Generally speaking you will create your routes inside the Global.asax file. Umbraco has been pretty notorious about how it handles this file so I found it easier to not register my routes there, instead I’m going to register my routes using the PreApplicationStartMethod attribute and this is why we created the App_Start folder.
Start off by creating an empty class in there:
namespace WebApplication2.App_Start
{
    public class RouteSetup
    {
    }
}
Now add a new method that will be used by the PreApplicationStartMethod attribute:
namespace WebApplication2.App_Start
{
    public class RouteSetup
    {
        public static void Setup()
        {

        }
    }
}
Note: This method must be both public and static.
Next up, add the attribute:
using System.Web;
[assembly: PreApplicationStartMethod(typeof(WebApplication2.App_Start.RouteSetup), "Setup")]
namespace WebApplication2.App_Start
{
    public class RouteSetup
    {
        public static void Setup()
        {

        }
    }
}
What we’ve done here is told ASP.NET that we have a class which has a method we want to run when the application is starting up, and with this we can start injecting some routes:
using System.Web;
using System.Web.Mvc;
using System.Web.Routing;

[assembly: PreApplicationStartMethod(typeof(WebApplication2.App_Start.RouteSetup), "Setup")]
namespace WebApplication2.App_Start
{
    public class RouteSetup
    {
        public static void Setup()
        {
            RouteTable.Routes.MapRoute(
                "Default", // Route name
                "{controller}/{action}/{id}", // URL with parameters
                new { controller = "Home", action = "Index", id = UrlParameter.Optional } // Parameter defaults
            );
        }
    }
}
I’ve added a couple of using statements and I’ve also added a single route, here you can define as many routes as you want, go as crazy as you need for your application routing. But there’s still one more thing we need to do with the routing, we need to make sure Umbraco will also ignore it. The Umbraco routing engine is pretty greedy, it wants to handle everything, the problem is that this isn’t an Umbraco route so we don’t want it to be handled there. Luckily this is easy to do, open up the Web.config and we’ll change the umbracoReservedPaths appSetting:
<add key="umbracoReservedPaths" value="~/umbraco,~/install/,~/home" />
Note: The more complex your routes the more you’ll need to update this. It might be advisable to put all your routes behind a certain prefix. I’ve also not tested this with MVC Areas so I have no idea if that’ll work. Finally I have an idea on how to make the route registration simpler and more unobtrusive and I’ll post a follow up blog post.
Creating a controller and views
So I’m going to go ahead and create a really basic controller:
using System.Web.Mvc;

namespace WebApplication1.Controllers
{
    public class HomeController : Controller
    {
        public ActionResult Index()
        {
            return View();
        }
    }
}
This is just a standard MVC controller, go as nuts with it as needed. Now we’ll add the view:
@{
    Layout = null;
    ViewBag.Title = "Home";
}
<!DOCTYPE html>
<html xmlns="http://www.w3.org/1999/xhtml">
<head>
    <title>@ViewBag.Title</title>
</head>
<body>
    <h1>Hello I'm a razor view.</h1>
</body>
</html>
Note: This view is stupidly simple, but this is just a proof of concept :P.
Note #2: You may not get the nice Visual Studio menu options for creating contollers and views, you also might find that the razor file has a lot of red squigglies, when this happens it’s because your Visual Studio project type is not an MVC project, there’s a GUID you can change in the csproj file but I’ll leave that to you to experiment with.
We’re just about ready to host our MVC application!
Web.config for all
In this demo, because I used NuGet I’m using MVC 4.0 which also means you have Razor 2.0, this means we need to do some changes to the Umbraco web.config file to support this.
Change #1
You need to add your own Web.config for the MVC views, this will reside at /Views/Web.config in your project. The easiest way to get the contents is to grab it from a new MVC project. If you do that you need to remove a part though, as Umbraco already has some Razor support it will want to take over for the MVC side as well. Because of this you need to remove this part:
<sectionGroup name="system.web.webPages.razor" type="System.Web.WebPages.Razor.Configuration.RazorWebSectionGroup, System.Web.WebPages.Razor, Version=2.0.0.0, Culture=neutral, PublicKeyToken=31BF3856AD364E35">
  <section name="host" type="System.Web.WebPages.Razor.Configuration.HostSection, System.Web.WebPages.Razor, Version=2.0.0.0, Culture=neutral, PublicKeyToken=31BF3856AD364E35" requirePermission="false" />
  <section name="pages" type="System.Web.WebPages.Razor.Configuration.RazorPagesSection, System.Web.WebPages.Razor, Version=2.0.0.0, Culture=neutral, PublicKeyToken=31BF3856AD364E35" requirePermission="false" />
</sectionGroup>
This section is actually defined in the Umbraco Web.config for Razor support so declaring it a second time will result in an error.
Change #2
As I said I’m using MVC 4.0 here which also uses Razor 2.0 and because of this we need to convert Umbraco up to Razor 2.0. So you’ll need to identify the above mentioned config section in the Umbraco web.config and change the Version=1.0.0.0 to Version=2.0.0.0.
Done!
Yep with that all completed you’re done, you can now route to your MVC application side-by-side with your Umbraco CMS pages.
Conclusion
So over the course of this blog post we’ve looked at how you can get a MVC application working along with an Umbraco CMS in the same IIS/ website. There’s a few things to remember:
We’re using MVC for the application side of our website only
Umbraco is still handling all the content pages and you have to use traditional Umbraco practices (you know, like Razor!)
You don’t have Umbraco content on the MVC pages but you have the Umbraco API so you could always do calls to get editor data
This was a proof-of-concept, implement it at your own risk