A few years ago I created a PowerShell module to allow me to install and use multiple versions of Node.js on my Windows machine. I realised that this could be useful for other people so I put it up on GitHub, called ps-nvmw, short for PowerShell Node Version Manager for Windows.
But when I first wrote it there was no really good way to share modules with other people, my instructions were always something like “Clone the repo and import the module”.
With Windows 10, or more accurately Windows Management Framework 5 (which is part of Windows 10 and a separate install for other OS’s) PowerShell module sharing is even easier, thanks to PowerShell Gallery (there are other offerings but this seems to be the best approach to me). Basically this works like NuGet or Chocolatey, allows you to find, install and update modules, and is quite easy to distribute them too.
So I decided to get ps-nvmw up there and I decided to do it in a continuous delivery approach using Visual Studio Team Services Build and let’s walk through how to do that.
Step 1 - Create a VSTS Build
Note - I’m using GitHub as my repository and you can to, follow this guide to set that up.
We’re going to create a new build in VSTS, under whatever project you want, I have one called github-projects that builds all my various GitHub projects (shocking!). Because this is pretty custom we’re going to use the Empty build definition template.
Step 2 - Setting up the publish folder
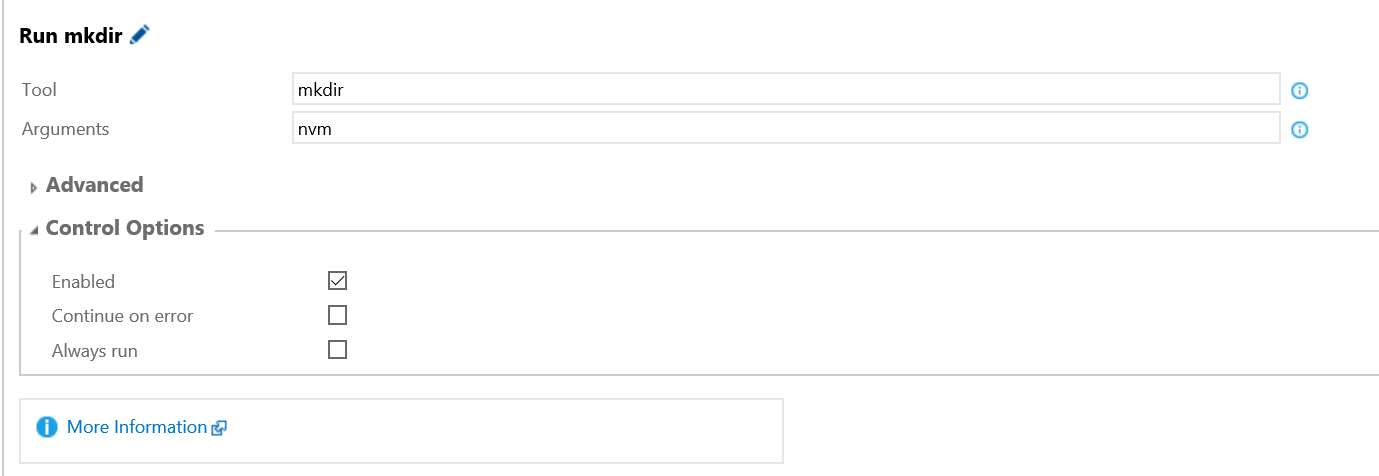
When your build agent checks out your repository it does so into a very short path, for example mine is C:\a\1\s (my guess is to avoid problems with Windows Path’s exceeding the 260 character limit), and this is going to be a problem in Step 4 as we’ll use the Publish-Module commandlet with the -Path. The problem we’ll hit is that this command expects the name of the module definition (your psd1 file) is the same as the folder. Sadly s is not the name of my module, it’s nvm, so we will need to create a new folder.
So add a new Build Step of type Command Line (under Utility) with the tool being mkdir and the arguments being the name of your module:
Step 3 - Preparing your module
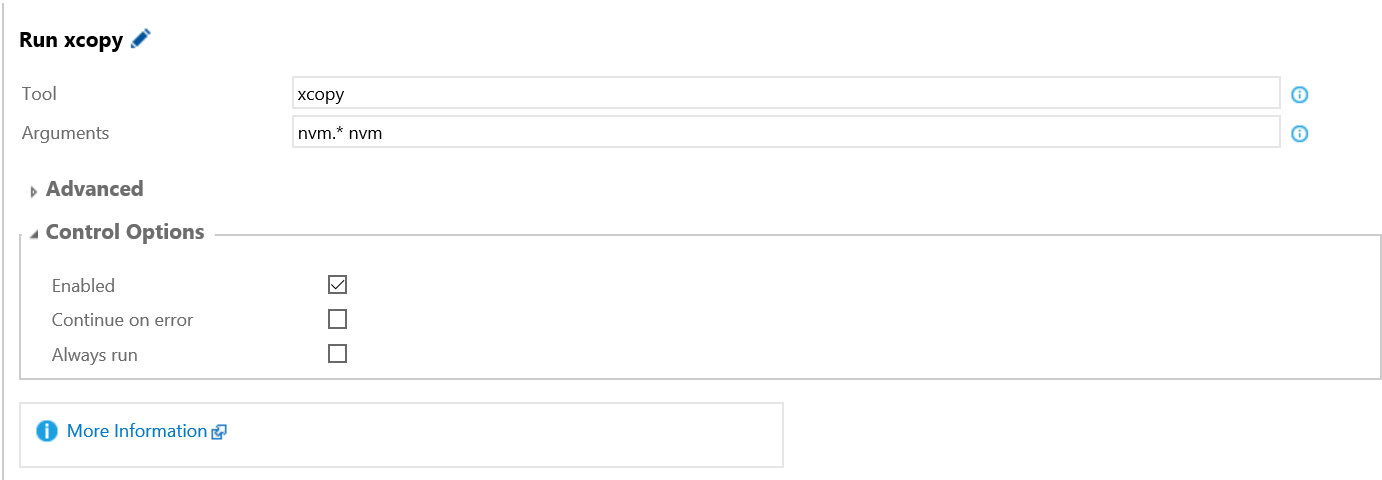
With our module folder created we next want to put the files in that we want to publish, ideally your psm1 and psd1 files.
Time to add another Command Line Build Step, this time it’ll be a tool of xcopy and arguments to select your files:
Step 4 - Publishing your module
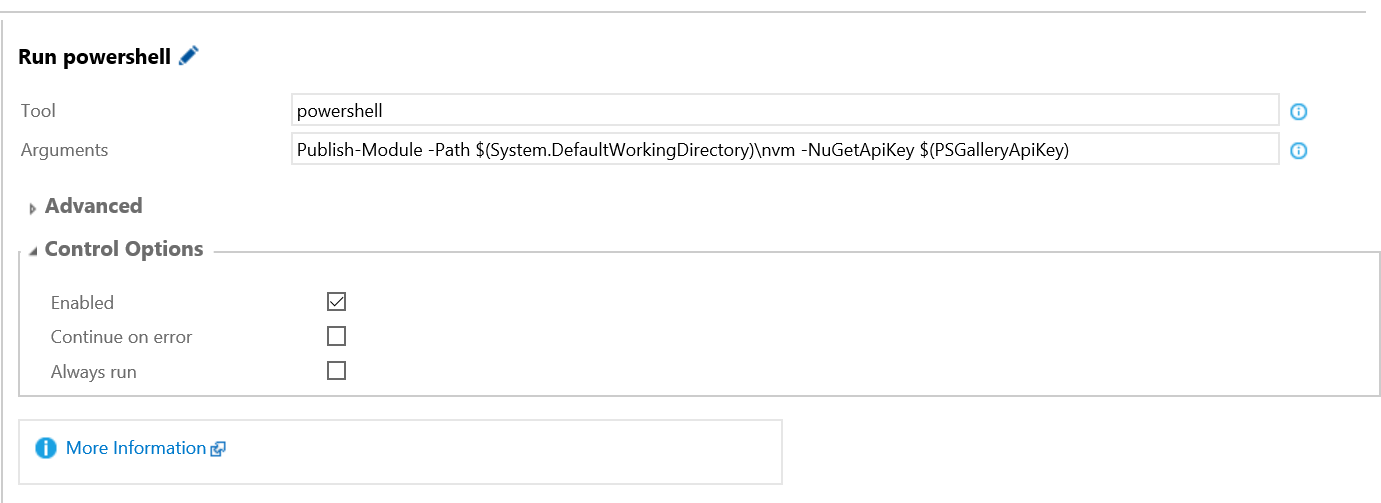
This step I’m doing a little dodgy, mostly because I’m lazy, but now it’s time that we publish our module to the gallery. To do that we’ll need to use the Publish-Module commandlet in PowerShell, providing the path to your module and the API key for the gallery. For the sake of good practice (I can do good practice inside dodgy work!) I’ve created a private variable in the build for the API key (keeps it out of my logs then).
For this step I’m again using Command Line but the tool is powershell and the arguments are Publish-Module -Path $(System.DefaultWorkingDirectory)\nvm -NuGetApiKey $(PSGalleryApiKey). There are two variables in the arguments, the first is the folder the repository was cloned to (which is available in all build steps) and the second is my API key, which I gave the name PSGalleryApiKey. The step looks like so:
You can probably see how it’s a little dodgy, that I’m using a Command Line step to invoke a PowerShell session to run a PowerShell command. If you were doing it better you would have a PowerShell file that wrapped that command in your repository, since you can’t run “arbitrary” PowerShell from a step (without a dodgy thing like I have).
Conclusion
There we have it folks, 4 steps on how to use VSTS Build to deploy a PowerShell module to the PowerShell Gallery. It might be a little dodgy but I have that working with CI builds, so all pushes to master on GitHub result in a release to the gallery.
Some final thoughts:
- I really should write a script that goes into the repository to replace the dodgyness of Step 4
- I’m not using Pester for testing like a lot of people, but getting that hooked in would be cool
- The workflow is not quite right as I’m deploying from VSTS Build, that should really happen from VSTS Release Management. To do that you’d remove the last step I have, replace it with a ‘copy to artifacts’ step, and have RM run the
Publish-Modulestep. It might need to redo the path setup steps too
Happy Scripting!