With the Azure Static Web Apps GA there was a sneaky little project that my colleague Wassim Chegham dropped, the Static Web Apps CLI.
The SWA CLI is a tool he’s been building for a while with the aim to make it easier to do local development, especially if you want to do an authenticated experience. I’ve been helping out on making sure it works on Windows and for Blazor/.NET apps.
It works by running as a proxy server in front of the web and API components, giving you a single endpoint that you access the site via, much like when it’s deployed to Azure. It also will inject a mock auth token if want to create an authenticated experience, and enforce the routing rules that are defined in the staticwebapp.config.json file. By default, it’ll want to serve static content from a folder, but my preference is to proxy the dev server from create-react-app, so I can get hot reloading and stuff working. Let’s take a look at how we can do that.
Using the cli with VS Code
With VS Code being my editor of choice, I wanted to work out the best way to work with it and the SWA CLI, so I can run a task and have it started. But as I prefer to use it as a proxy, this really requires me to run three tasks, one of the web app, one for the API and one for the CLI.
So, let’s start creating a tasks.json file:
| |
The first two tasks will run npm start against the respective parts of the app, and you can see from the detail field what they are running. Both of these will run in the background of the shell (don’t need it to pop up to the foreground) but there’s a catch, they are running persistent commands, commands that don’t end and this has a problem.
When we want to run swa start, it’ll kick off the two other tasks but using dependent tasks in VS Code means it will wait until the task(s) in the dependsOn are completed. Now, this is fine if you run a task that has an end (like tsc), but if you’ve got a watch going (tsc -w), well, it’s not ending and the parent task can’t start.
Unblocking blocking processes
We need to run two blocking processes but trick VS Code into thinking they are completed so we can run the CLI. It turns out we can do that by customising the problemMatcher part of our task with a background section. The important part here is defining some endPattern regex’s. Let’s start with the web app, which in this case is going to be using create-react-app, and the last message it prints once the server is up and running is:
To create a production build, use npm run build.
Great, we’ll look for that in the output, and if it’s found, treat it as the command is done.
The API is a little trickier though, as it’s running two commands, func start and tsc -w, and it’s doing that in parallel, making our output stream a bit messy. We’re mostly interested on when the Azure Functions have started up, and if we look at the output the easiest message to regex is probably:
For detailed output, run func with –verbose flag.
It’s not the last thing that’s output, but it’s close to and appears after the Functions are running, so that’ll do.
Now that we know what to look for, let’s configure the problem matcher.
Updating our problem matchers
To do what we need to do we’re going to need to add a problemMatcher section to the task and it’ll need to implement a full problemMatcher. Here’s the updated task for the web app:
| |
Since create-react-app doesn’t have a standard problemMatcher in VS Code (as far as I can tell anyway) we’re going to set the owner as custom and then use the TypeScript pattern (which I shamelessly stole from the docs 🤣). You might need to tweak the regex to get the VS Code problems list to work properly, but this will do for now. With our basic problemMatcher defined, we can add a background section to it and specify the endsPattern to match the string we’re looking for. You’ll also have to provide a beginsPattern, to which I’m lazy and just matching on anything.
Let’s do a similar thing for the API task:
| |
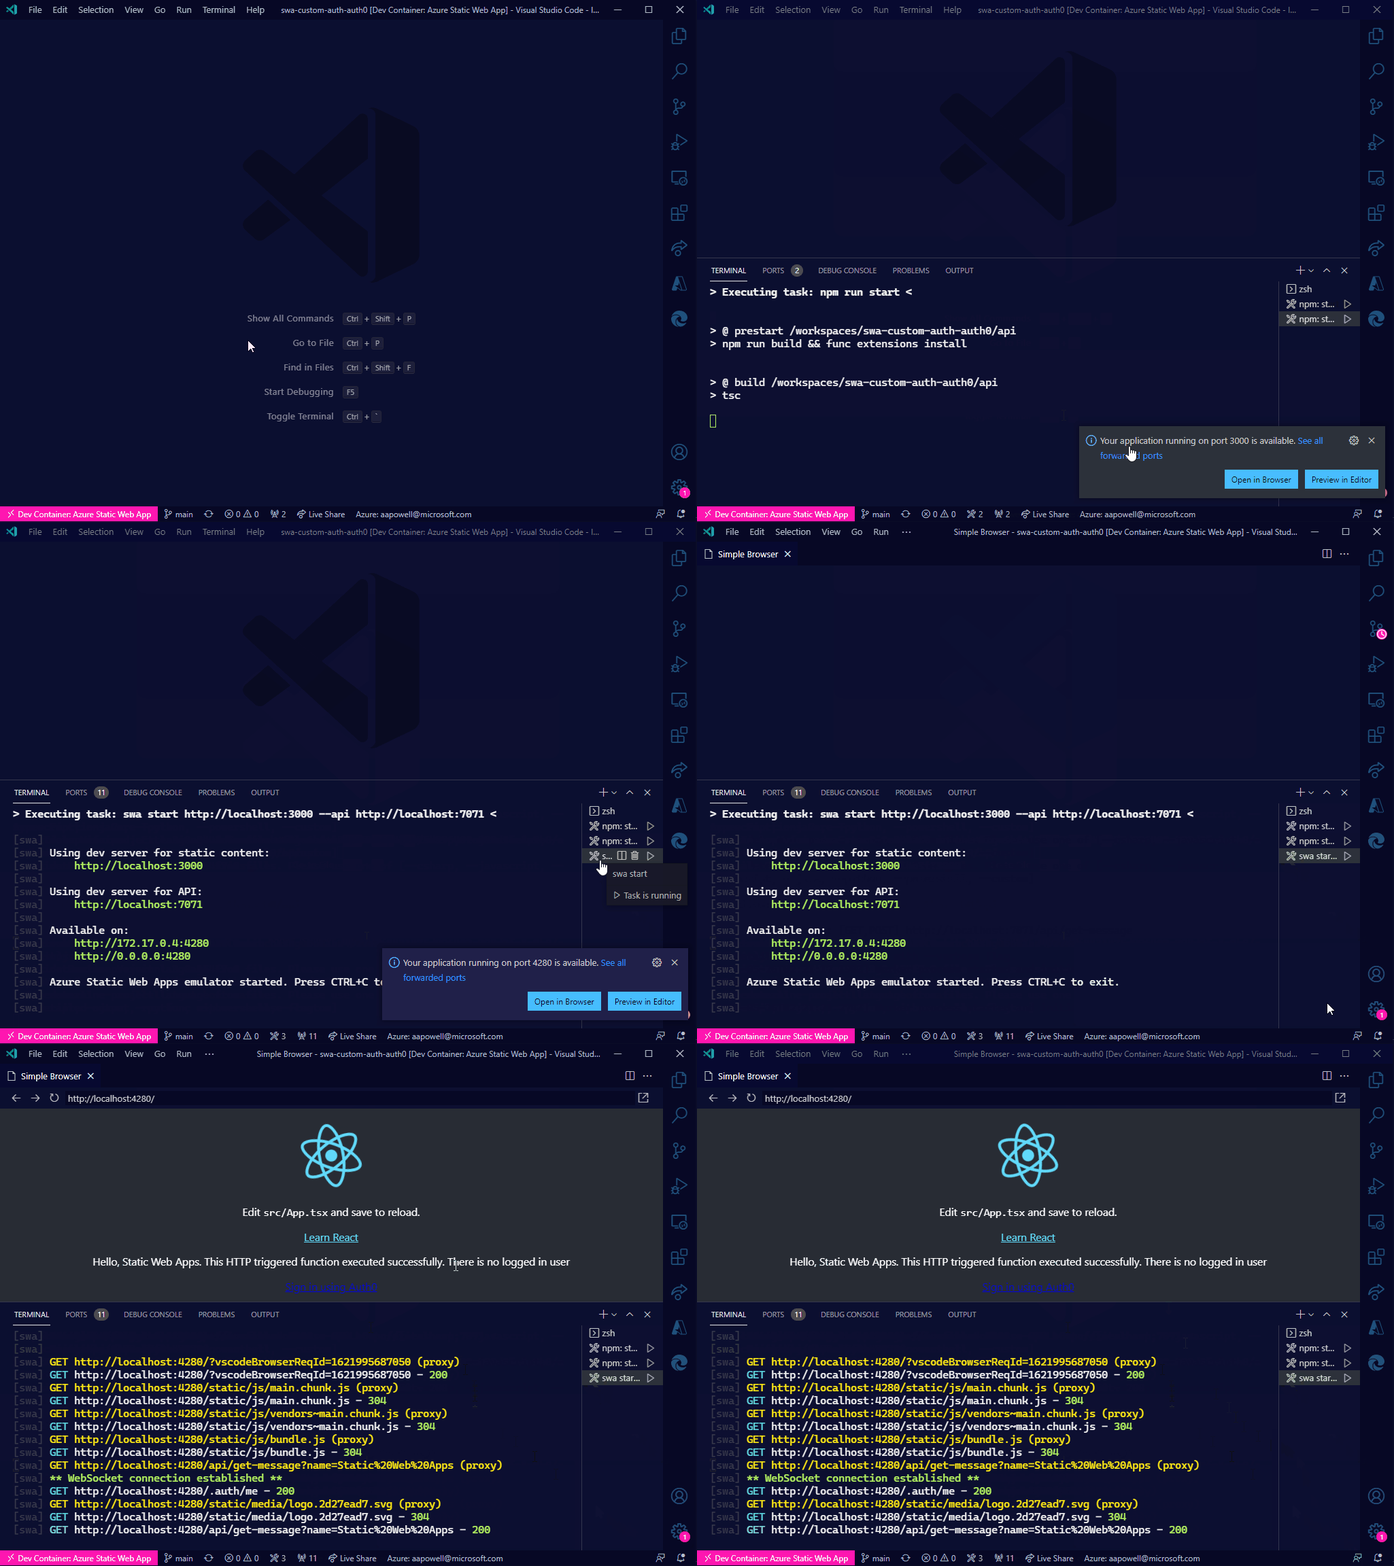
Now, we can run the swa start task and everything will launch for us!

Conclusion
Azure Static Web Apps just keeps getting better and better. With the CLI, it’s super easy to run a local environment and not have to worry about things like CORS, making it closer to how the deployed app operates. And combining it with these VS Code tasks means that with a few key presses you can get it up and running.
I’ve added these tasks to the GitHub repo of my Auth0 demo app from the post on using Auth0 with Static Web Apps