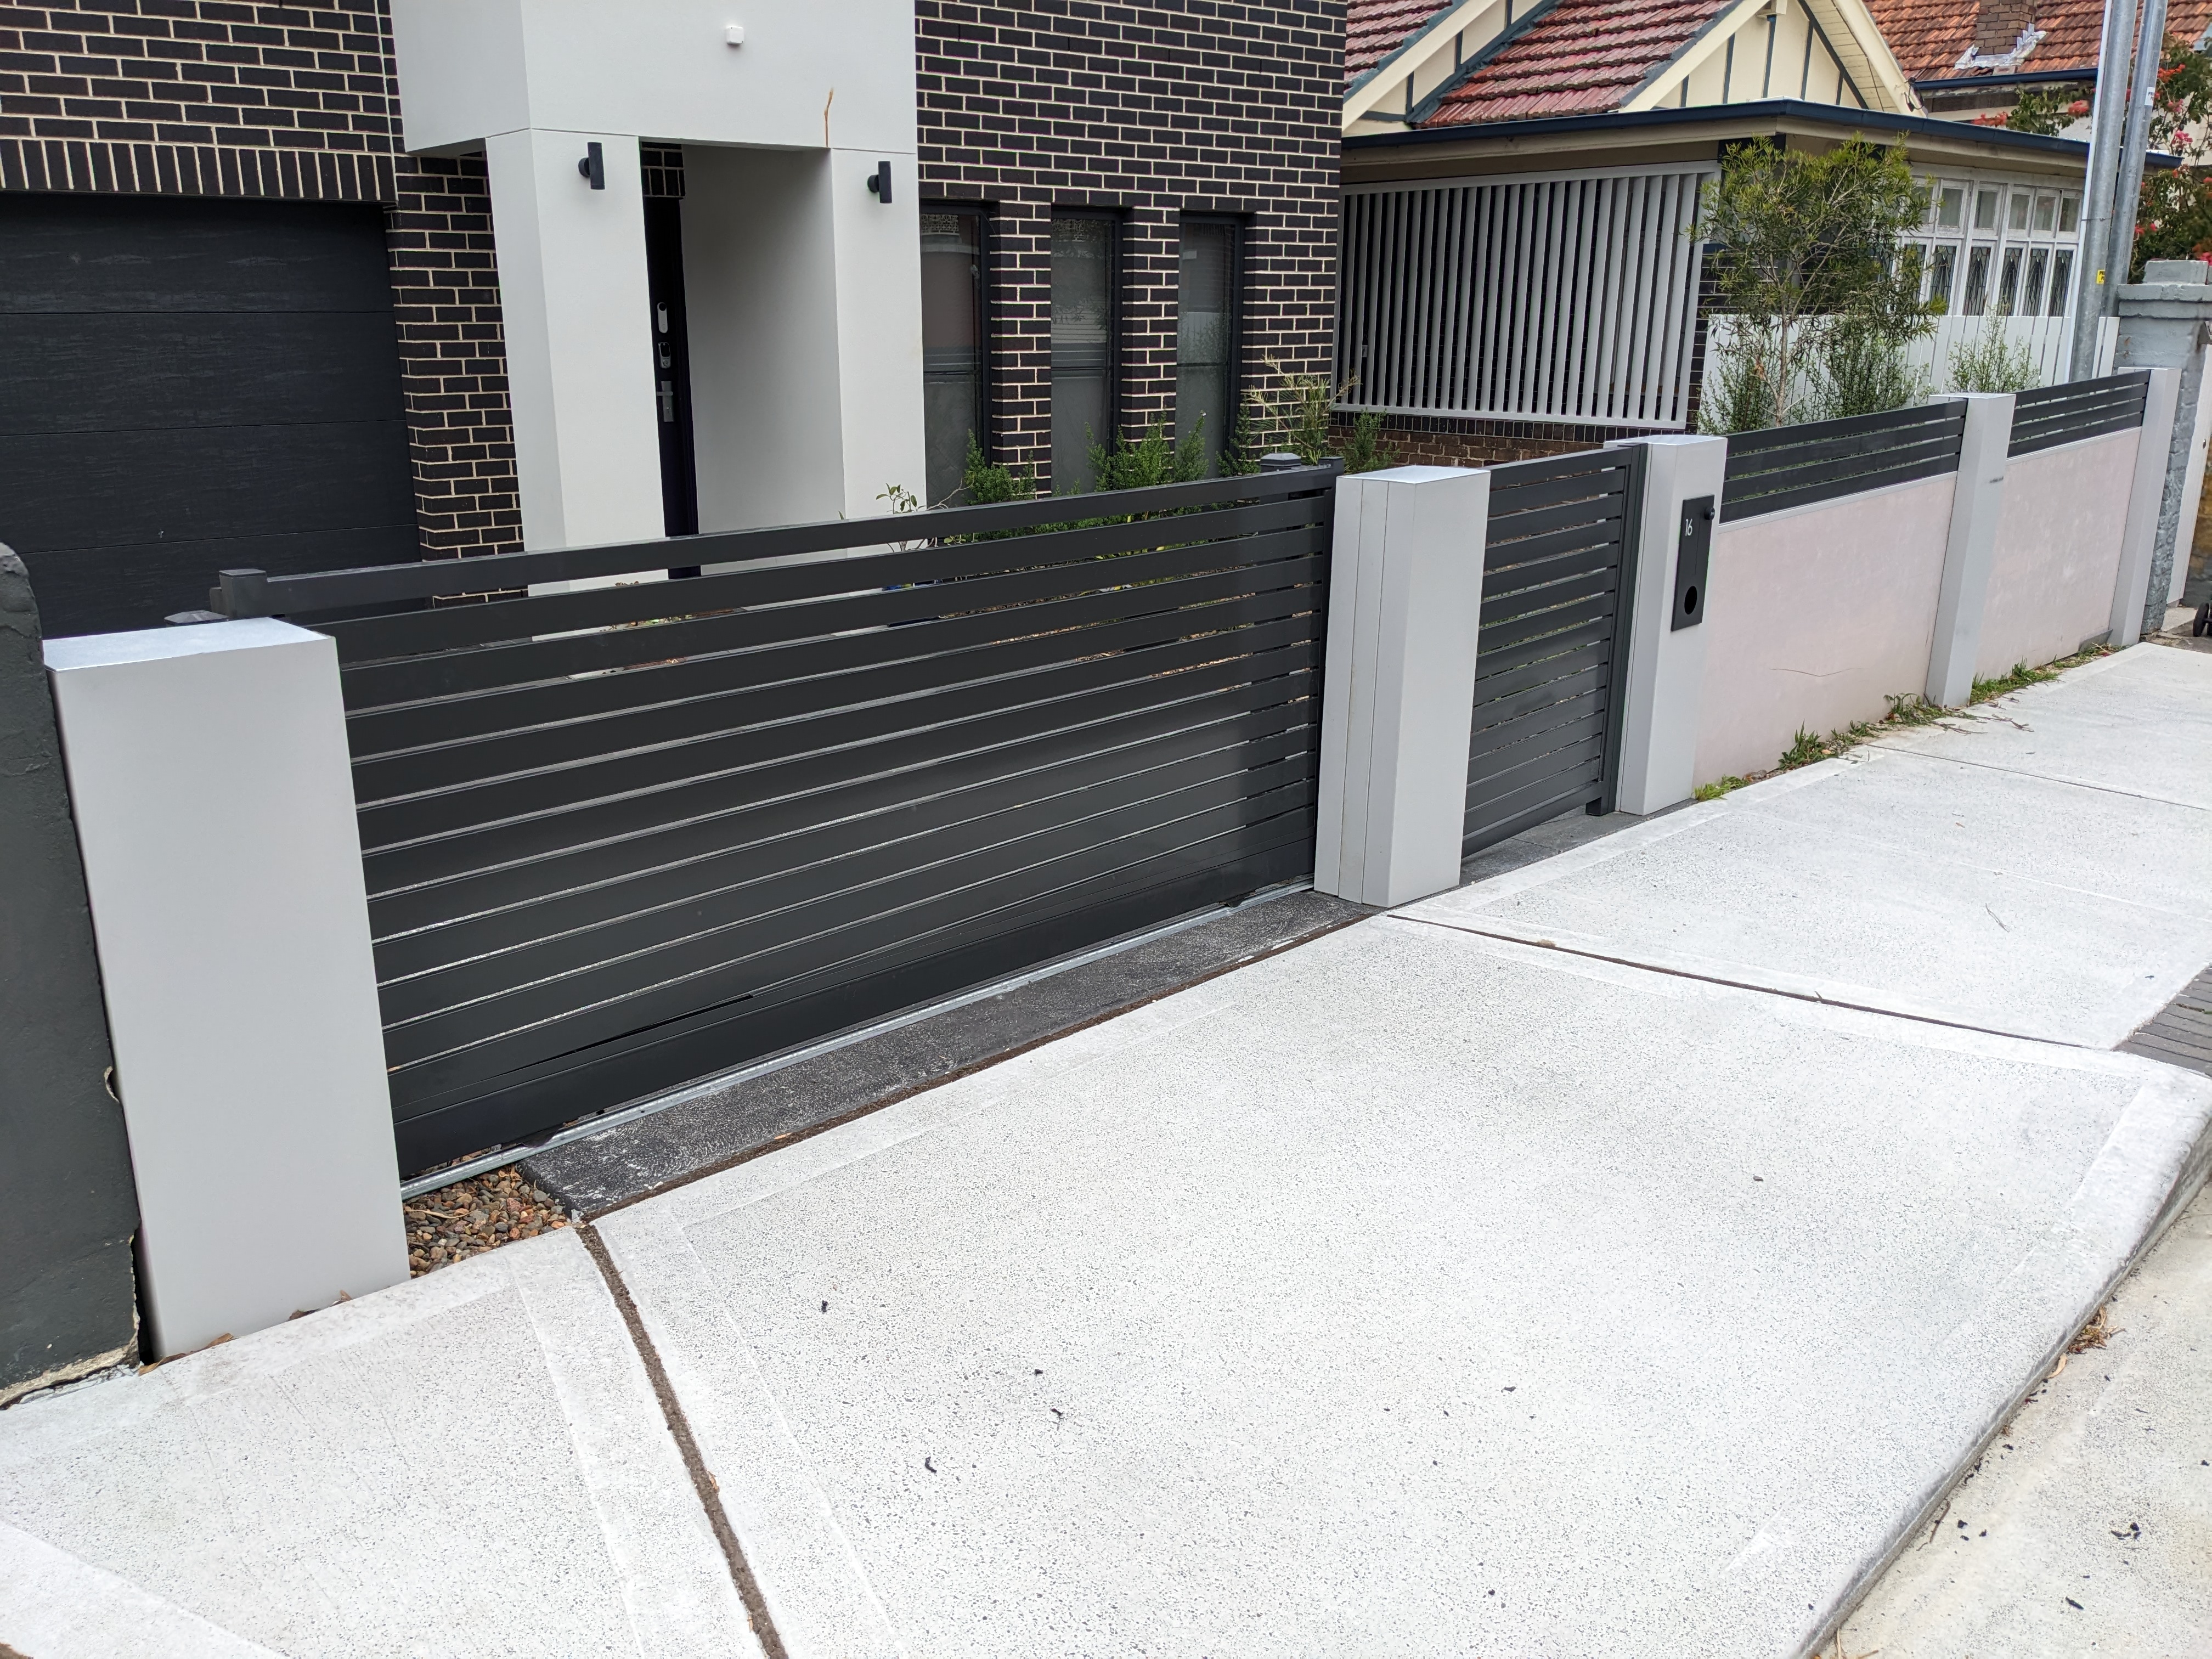
In building our new house we decided to add a motorised gate across our driveway.
Unsurprisingly, this is a gate running off a remote, which upon first inspection I believed is using RF on some frequency, and this sounds like it’s something I can automate with Home Assistant! After all, I’ve previously done some RF automations, so let’s get started.
The Controller
The control unit we have installed is the BFT Deimos BT A 400 which connects to the gate via a rack and pinion system with rack being on the gate and the pinion the motor. It has a sensor on the motor that is triggered when the gate reaches the open/close positions and stops the motor. This all runs on a track on our driveway, ensuring that it doesn’t, you know, go where it’s not meant to go.
So in reality, it’s a pretty simple system and sounds like a good fun thing to automate.
Automating the Gate
With the gate we were provided with some Mitto remotes and going through the docs, they broadcast on 433MHz and that’s the same as the Broadlink RM4 Pro which I have controlling the ceiling fans.
The only problem is that now I need it to reach yet another location, and it’s already running a bit thin in reaching the full length of our house.
But it turns out that it’s actually a lot simpler than that. Part of the gate controller is the Hamal control board and it has some interesting headers on the board, a 24v DC +/-, as well as headers for external controllers to do things like start the motor. This sounds like a better option, it’s direct input to the motor, so we can send a signal directly, rather than relying on an external signal blast.
Wiring up the Controller
I’ve still got some Shelly 1 devices left over from the lighting install, and this is the ideal device to use as it can run on 240v AC or 24v DC, and the motor exposes positive and negative headers for 24v DC (as well as 240v AC, but you don’t want to play with 240v AC!).
After unplugging the motor I grabbed spare wires to connect the L and N terminals to the 24v DC headers and the Shelly is ready to power on, next we need to wire up the IO of the Shelly to the headers 61 and 60 respectively.
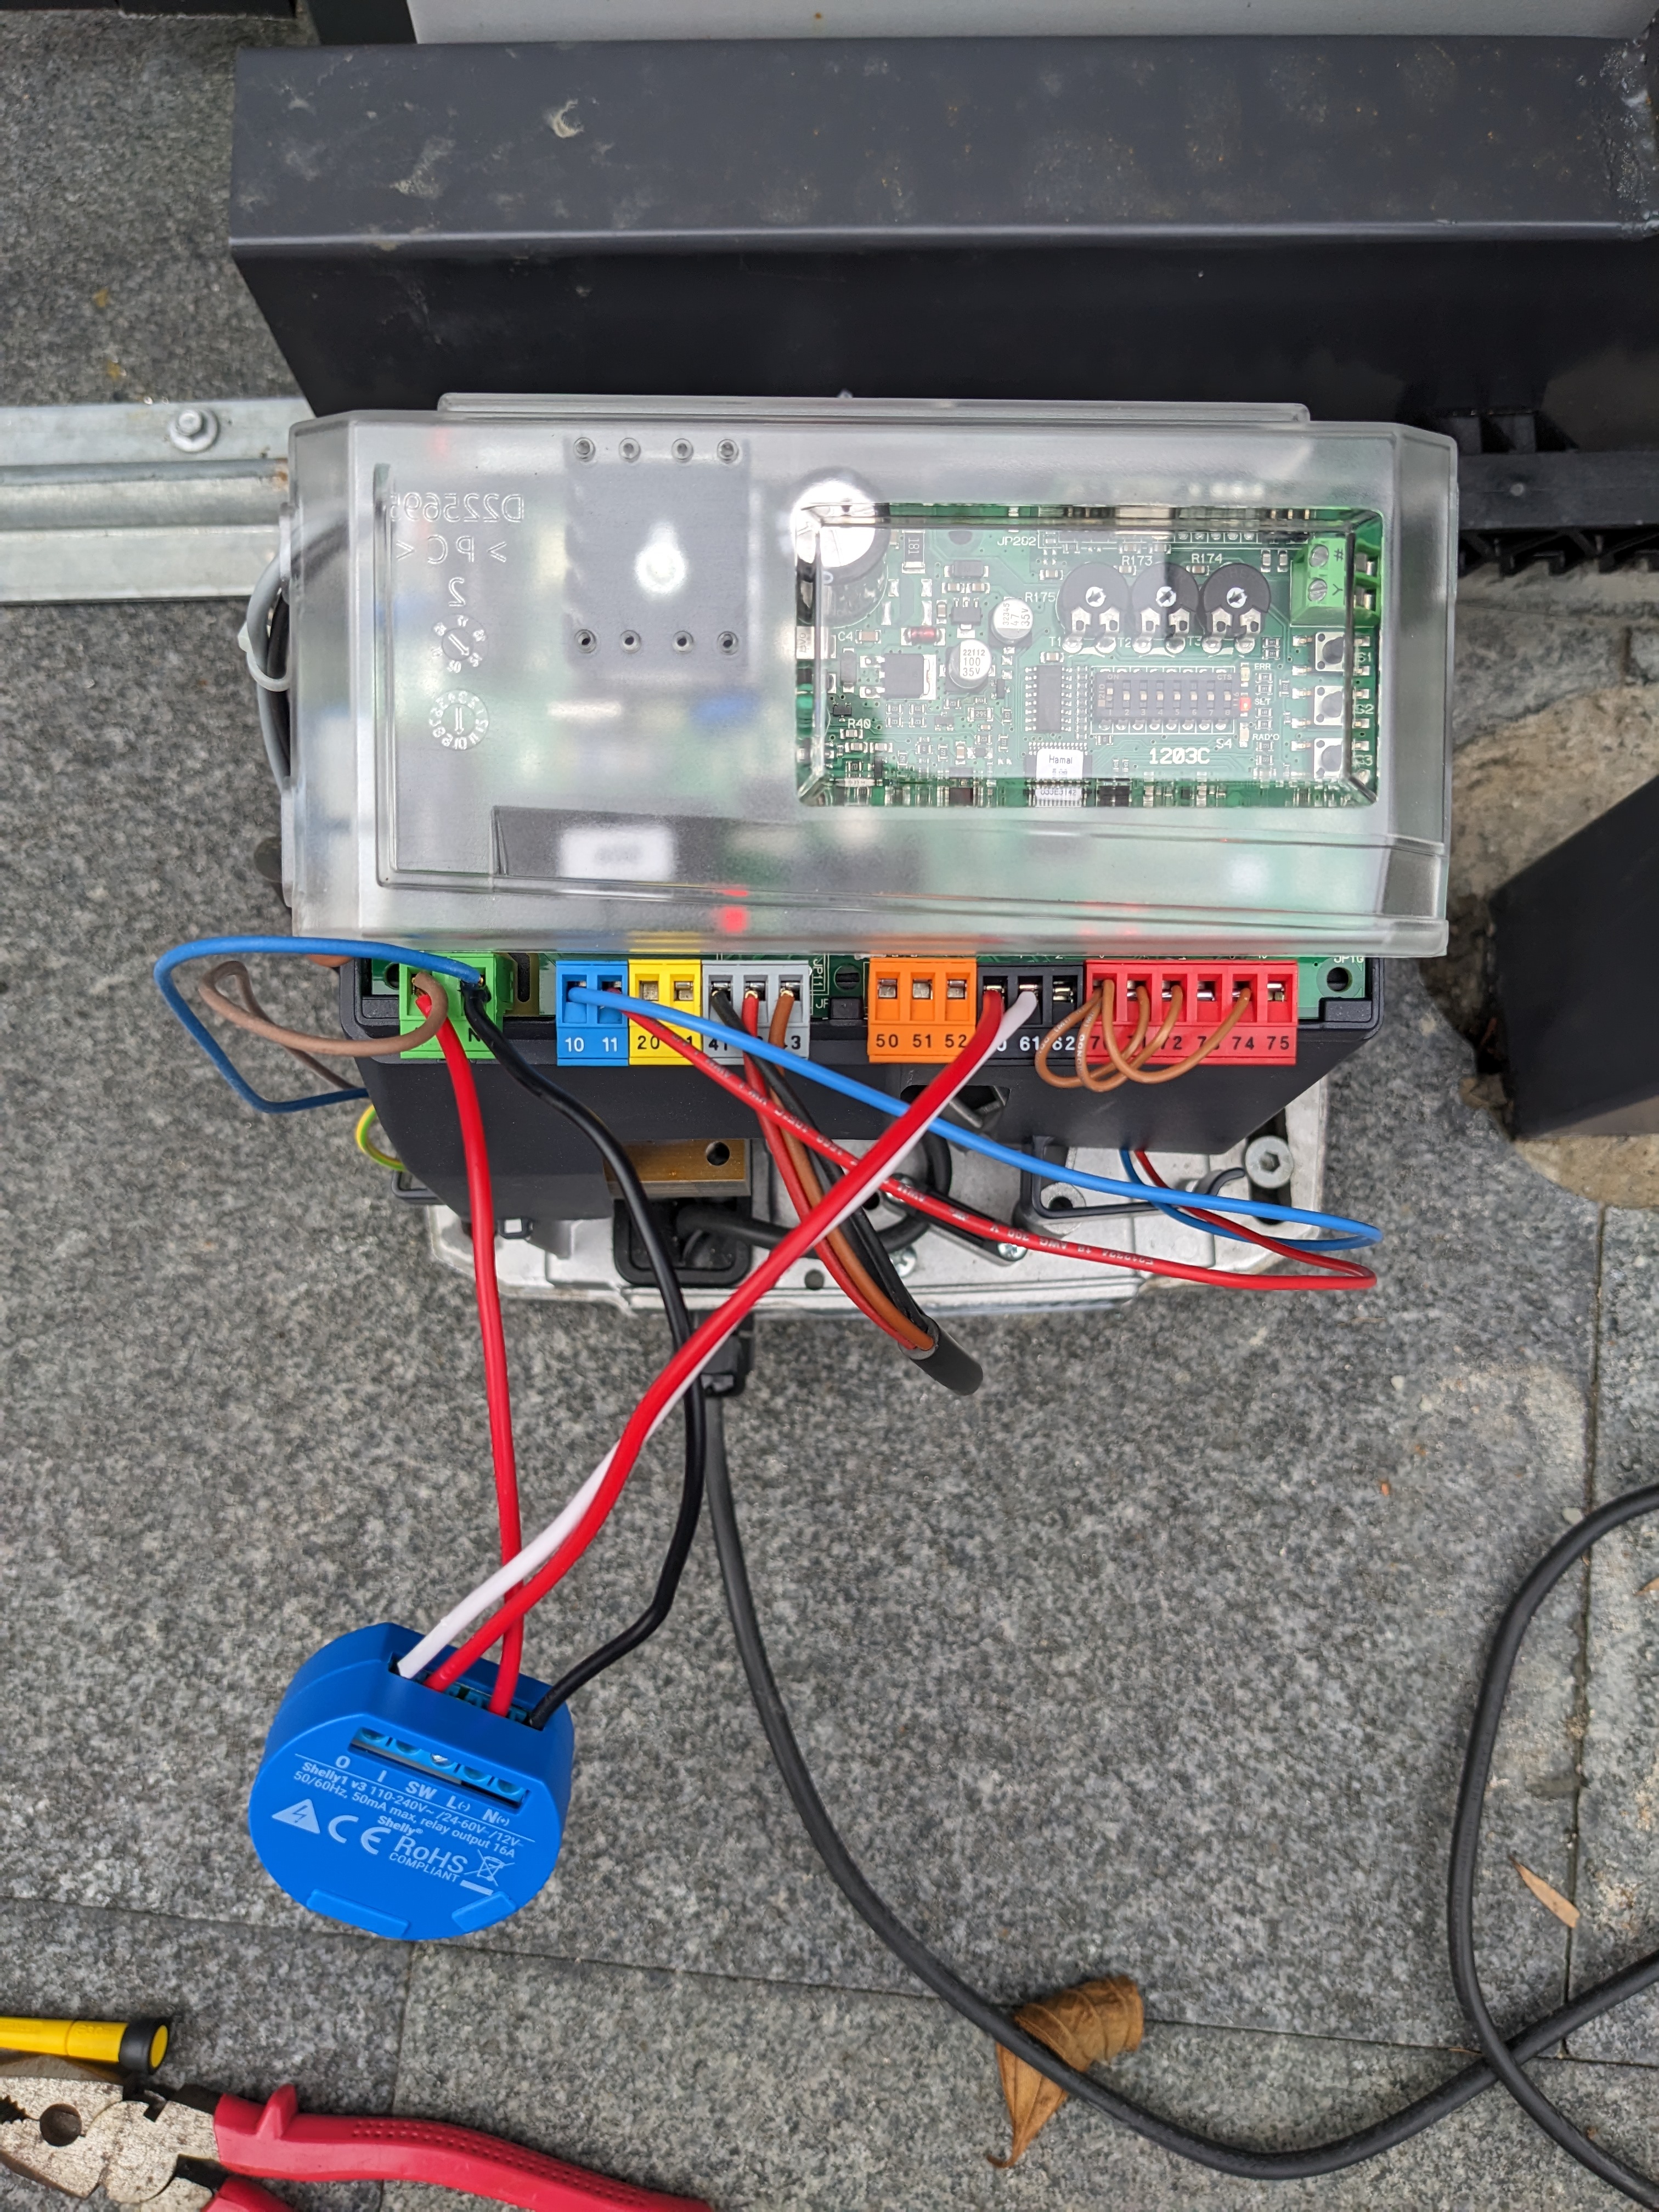
I’m not using the SW header on the Shelly as I don’t have an external input to control the relay switching.
With power connected back to the controller the Shelly broadcast its AP and was ready to be adopted onto the wifi network, sweet!
Shelly Configuration
For this Shelly, it’s not a switch like you’d use in lighting, it’s just activating momentarily to trigger the motor to start doing its thing, so the concept of on and off don’t really make sense. Instead, we’ll configure this Shelly as a Momentary Button Type, but since we never want it to be in the on state for long, I added an Auto Off timer with a 1s delay, meaning that once the relay turns on it then turns off again straight away.
This is a simple trick to work around how these style of controllers work, on just tells the motor to start doing what it should be doing based off what it’s currently doing/current state is; if the gate is open, it’ll close; if it’s closed, it’ll open; if it’s moving, it’ll stop.
Looking at the headers Hamal control board I think you could do something smarter, but that’s not really of concern to me.
Adding to Home Assistant
Home Assistant will find the Shelly as soon as it’s on the network and it can be integrated easily, but we just have it as a switch, and a switch that pretty much always says it’s turned off. What we’re lacking is a way to know if the gate is opened or closed, and to do that we’ll add a contact sensor.
I used the Aqara Door Sensor (again, I have a bunch laying around from other projects… this seems to be a smart home trend 😅) which I’ve attached between the gate and the pole the gate is on, so it’s somewhat hidden and protected from the elements.
Once adopted on my ZigBee network I have something that reports open/close state of the gate, so we can bring it all together.
Adding a Cover Template Entity
To merge the two entities, our contact sensor and switch, to represent something that can do open/close/stop, we’ll use a Template Cover entity. Here’s the YAML for the gate:
| |
The entity configuration is reasonably straightforward, to open/close/stop we use the switch.turn_on service in Home Assistant, which triggers our Shelly to on, forcing an action, before it turns itself off again. We then determine current state by looking at the contact sensor entity and reporting the right text (and icon for good measure).
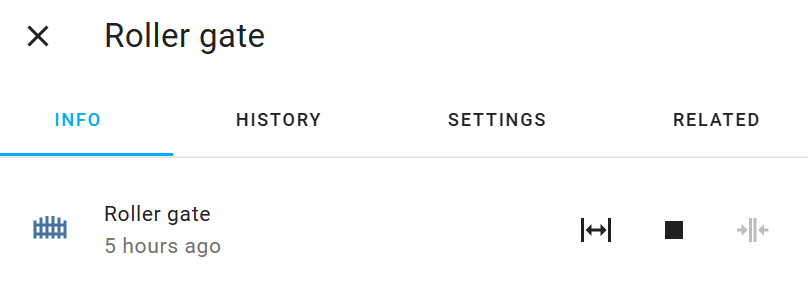
There we go, it’s appearing in Home Assistant and we can trigger it to watch magic happen.
Conclusion
This turned out to be a reasonably easy project to undertake because the BFT controller is well designed for integrating an external controller in. I hadn’t seen this exact approach done, the Home Assistant forums had this post that used another component of the BFT product line that I don’t have, but it was enough to help me get started.
It’s also very similar to wiring up a garage motor, which I’ve done in the past (and there are plenty of tutorials online for).
Is this really that useful though? Presently, no, not really. I don’t really have anything that will intelligently decide if the gate needs to be opened or closed, so it’s more a case of “I can do this” than anything else. Sure, there’s a basic automation it’s used with to make sure it’s closed at the end of the day, but really, that’s not running that frequently as we just close it from the remote in the car. Maybe if/when we have a car that’s integrated into Home Assistant (our car isn’t modern enough for that) there could be some smarts on “you’re about to drive, let me open” and have auto close when away/reopen on approach, but that’s not going to be happening for a while.
All in all, it was a fun project that saw a few fist pumps when I realised that it worked first time!